
Bosses
Dungeon Lootr boss guide — multi-bar boss patterns, the 100-floor Boss Rush, Challenge Dungeon strategies, class item drops, and the 2-of-3 reward chest system explained.
Introduction
Bosses are where Dungeon Lootr runs are won or lost. Every dungeon ends with a multi-HP-bar boss, and how you handle its attack patterns decides whether you extract with loot or die with nothing. The hub covers normal boss fights, the 100-floor Boss Rush, the high-difficulty Challenge Dungeon, and the reward chest system that follows every clear. Positioning beats button mashing — most boss abilities are telegraphed, and learning dodge timing and safe zones turns a frustrating fight into a routine clear. Bosses also drop class items and rare materials needed for class evolution, so farming the right boss is a core part of progression. Solo players can clear the entire Boss Rush in under 15 minutes with the right class, while parties split aggro and hallway clearing for a more forgiving climb.
Boss Modes Quick Reference
| Mode | Best For | Difficulty | Rewards |
|---|---|---|---|
| Boss Fights | Learning patterns | Medium | Class items, materials |
| Boss Rush | Endgame clears | Hard | Floor rewards, chests |
| Challenge Dungeon | Big challenges | Very Hard | Rare loot, chests |
| Reward Chests | Every run | Easy | Pick 2 of 3 chests |
Boss Modes
Boss Fights
The multi-HP-bar boss at the end of every dungeon run — the gate between hallway loot and the reward chests.
Boss Rush
The 100-floor gauntlet of escalating bosses — the marquee endgame mode, clearable solo in under 15 minutes.
Challenge Dungeon
High-difficulty mode with modifiers that change the rules — for players who want a real test and rare loot.
Reward Chests
After every boss, pick 2 of 3 chests with random rewards — the moment your run’s value is decided.
Core Mechanics
Boss fights in Dungeon Lootr follow a consistent structure: the boss has multiple health bars, and each bar loss triggers a new phase with new attack patterns. Early phases are telegraphed melee swings and projectiles, while later phases add area denial and faster combos. Positioning is the core mechanic — standing in the safe zone during a windup keeps you alive without burning dodges, and kiting the boss around the arena lets you control where the next attack lands. After the boss falls, the reward chest system activates: you pick 2 of 3 chests, each hiding a random reward ranging from coins to rare class items. Boss Rush stretches this loop across 100 floors with escalating boss difficulty, and Challenge Dungeon applies modifiers that change the rules of the fight. Because bosses drop class items and rare evolution materials, farming the right boss is how you progress most evolved classes.
Advantages
Boss content is the most rewarding content in Dungeon Lootr. Every clear pays out through the 2-of-3 reward chest system, and bosses are the only source of several class items and rare materials needed for evolutions like Awakened Devil EX. Boss Rush turns the loop into a clean endgame goal — a 100-floor gauntlet you can climb solo in under 15 minutes once your build comes together, or grind with a party for consistent rewards. Challenge Dungeon adds difficulty modifiers for players who want a real test and the rare loot that comes with it. Learning boss patterns is also the fastest way to improve overall, because the dodging and positioning skills you build in boss fights carry directly into normal dungeon clears and make every run safer and faster.
Challenges
Boss fights punish mistakes hard — a single missed dodge can cost you a health bar or the whole run, and dying at the boss room means losing everything you carried. Multi-bar phases mean fights are long, and a player who does not learn the pattern will burn through attempts and healing slowly. Boss Rush and Challenge Dungeon are time-heavy modes; climbing floors or failing a Challenge modifier can eat a full session with little to show for it. The drop rates for rare boss materials are also low, so farming a specific evolution item can require many clears. Finally, co-op makes boss fights easier but scales with party coordination, and a disorganized team can turn a simple boss into a wipe.
Frequently Asked Questions
How do I beat the Boss Rush?+
What drops from bosses?+
Should I pick 2 of 3 chests?+
What is the Challenge Dungeon?+
Quick Tips
Learn boss telegraphs before worrying about damage — the first health bar is the safest place to practice dodge timing, because later phases speed up and add area denial. Positioning beats reaction speed, so watch the windup animation, move to the safe zone, and only then attack. Survival is what lets you extract at all, so treat the first few bars as free training. Once you can clear a boss without taking hits, start squeezing in extra damage between dodges.
Run Boss Rush with a party for your first full climb, because a group splits hallway clearing and shares boss aggro between members. Each player can focus on learning one phase of the fight while the others cover damage, which makes floor mechanics far easier to read. Parties also revive each other on mistakes, turning what would be a solo wipe into a cheap lesson. After one full party clear, solo runs become much more predictable.
Save the 2-of-3 chest pick for when you are chasing a specific material, because every chest roll matters when a boss drops class items or rare evolution materials. Rushing the choice on a farming run wastes a drop opportunity, so always take both remaining chests immediately after a boss clear. There is no way to see inside a chest, so each pick is a pure roll at your target item.
Featured
Dungeon Lootr Boss Guide: Counters and Solo Patterns
Crush every Dungeon Lootr boss with multi-HP-bar pattern breakdowns, positioning tricks, and counter rotations tuned for solo randomized runs.
Dungeon Lootr Boss Reward Chests: Three-Chest Strategy
Pick the smartest Dungeon Lootr boss reward chest: weigh the three end-of-run options for class items and rare materials, then time picks for Boss Rush payouts.
Dungeon Lootr How to Unlock Boss Rush: Challenge Mode Entry
Unlock Dungeon Lootr how to unlock Boss Rush through the challenge dungeon floors, including entry requirements, mode rules, and the first bosses waiting inside.
All Articles

Dungeon Lootr Boss Loot: Rare Materials and Class Drops
Track every Dungeon Lootr boss loot drop including rare class materials, Mythical-tier items, and the boss patterns you must learn to claim the rarest rewards.
Dungeon Lootr Boss Rush Strategy: Picks and Rotations
Build a winning Dungeon Lootr boss rush strategy with class picks, pacing tips, and counter rotations that carry you through all 100 escalating challenge floors.
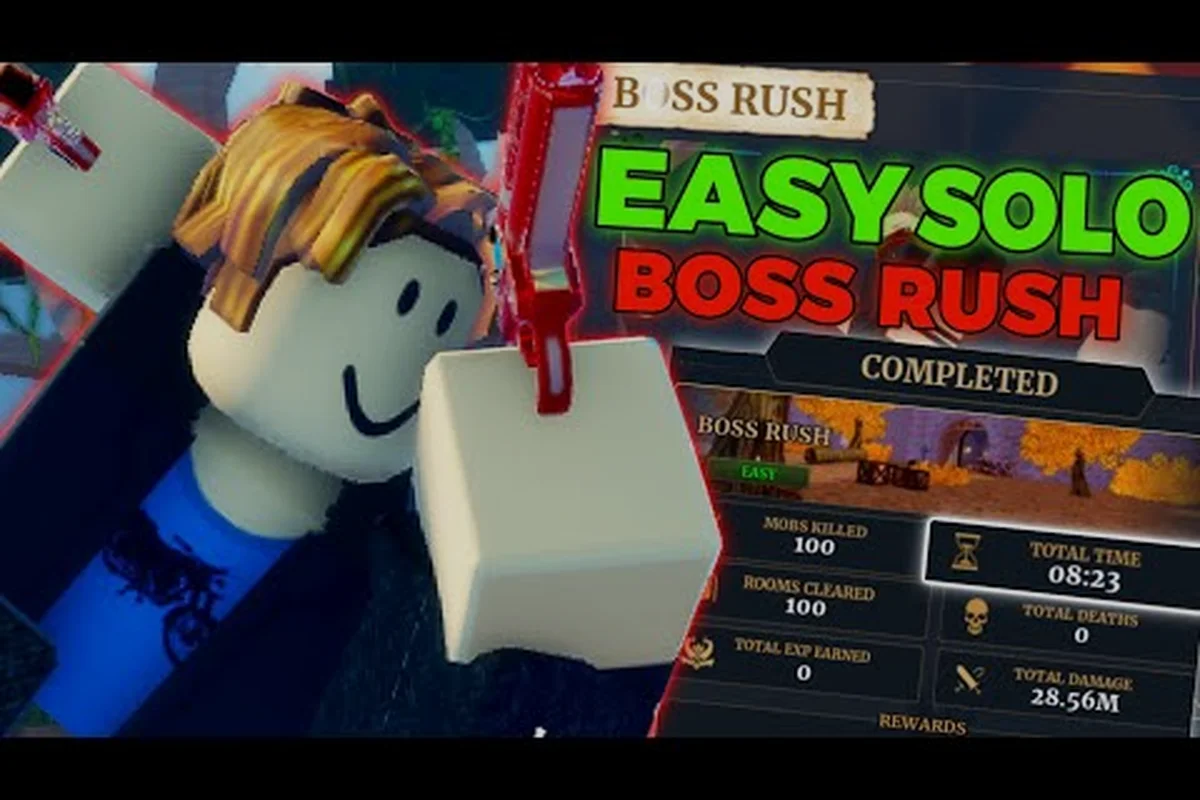
Dungeon Lootr How to Beat Boss Rush Fast: Speed Run Floors
Learn Dungeon Lootr how to beat Boss Rush fast with optimized routes, class picks, and skip-floor tricks that cut minutes off your 1-100 speed run clears.

Dungeon Lootr Solo Boss Rush: 100 Floors Without a Squad
Conquer Dungeon Lootr solo Boss Rush across all 100 floors with no squad support, covering class picks, floor-50 breakpoints, and the toughest bosses to solo.